How To Bulk Generate Unique Coupon Codes With WooCommerce
If you have occasion to need to generate a large number of coupon codes that are all unique but have the same rules, restrictions, and parameters this tutorial is for you.
Table of Contents
Why Doing This Using The Default WooCommerce Coupons Will Suck
Sadly there is no way with WooCommerce to create more than one coupon at a time. If you need a large number of coupon codes you have to create them one by one and that is no fun. Furthermore, even if you create them one by one you have no way to export them out of WooCommerce should you need the data elsewhere.
For example, on more than one occasion I've needed to print voucher codes (coupon codes) onto physical cards. Not only do I need a bunch of unique codes (to prevent people from abusing them by passing them out to friends) but I need them exported to a spreadsheet in order to mass-print them to cards.
This just can't be done without the aid of an additional plugin.
“Smart Coupons” Is The Way To Go
The Smart Coupons plugin is the top-selling plugin to expand coupon code flexibility and frankly the only sane way I've found to mass-produce coupon codes.
This plugin comes with a bunch of features that you might find valuable including:
- Setting an expiration time in addition to the expiration date
- Restrict coupons to first-time buyers
- Show coupon code on cart page or auto apply to orders
- Restrict to certain payment methods, shipping methods, locations, user roles, product attributes, etc.
- Auto-add products to cart (I love this one)
- Bulk generate & import and export (which is what we need for the purposes of this tutorial)
Step By Step Instructions
Step 1: Purchase, Download, and Install Smart Coupons
I assume you don't need instructions on how to install a plugin.
Step 2: Navigate to your coupon page
Log into your WooCommerce dashboard and click on “Coupons” in the Marketing menu.
Step 3: Click on the “Bulk Generate” tab at the top of the page.
Step 4: Choose the number of codes & action
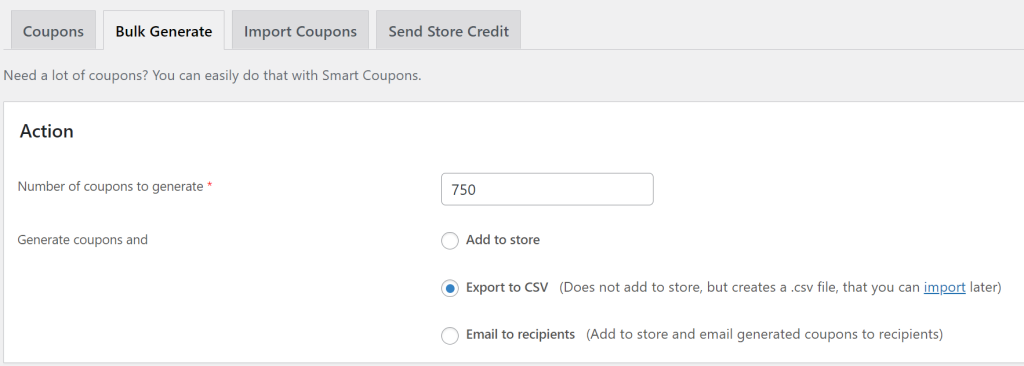
In the below screenshot, I've selected 750 coupon codes and the option to export them to CSV. This is my preference. I like to have them exported right away both so that I know I have the file but also because I may want to manipulate the coupon codes before I add them to the store.
I strongly recommend you Export to CSV as seen in the below screenshot.
Step 5: Scroll down and set all your coupon code parameters.
If in any doubt about the parameters, first exit the Bulk Generate tool and create just a single test coupon code. Test that code to make sure it does everything you want.
You don't want to screw this up and generate a large number of coupons that don't have the correct parameters so this is one of those instances where you measure twice and cut once.
One specific suggestion is to set a prefix which is a new option in the General options. Use something that will help you identify them in the future. So for example, if these codes are part of a 12 Days of Christmas Sale you could add the prefix “12daysxmas” to each code.
Step 6: Click Apply at the bottom of the screen
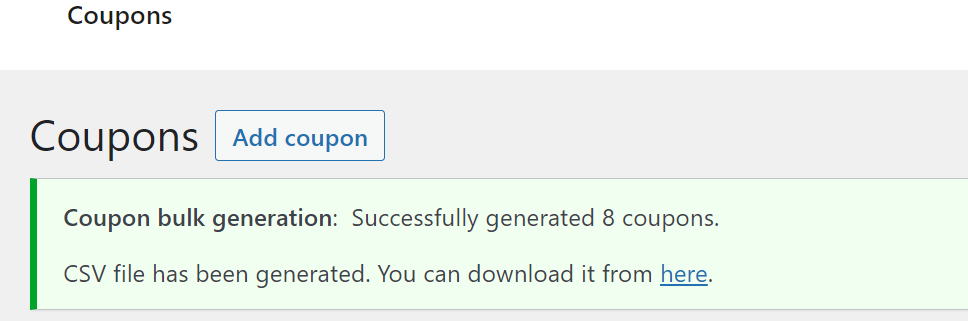
Step 7: Click to download the generated CSV file
Step 8: Customize your coupon codes in Excel
The export will download a zip file that contains your CSV file. After extracting your CSV file from the Zip file I recommend you make some tweaks to it. Making these changes is going to require some basic Microsoft Excel knowledge.
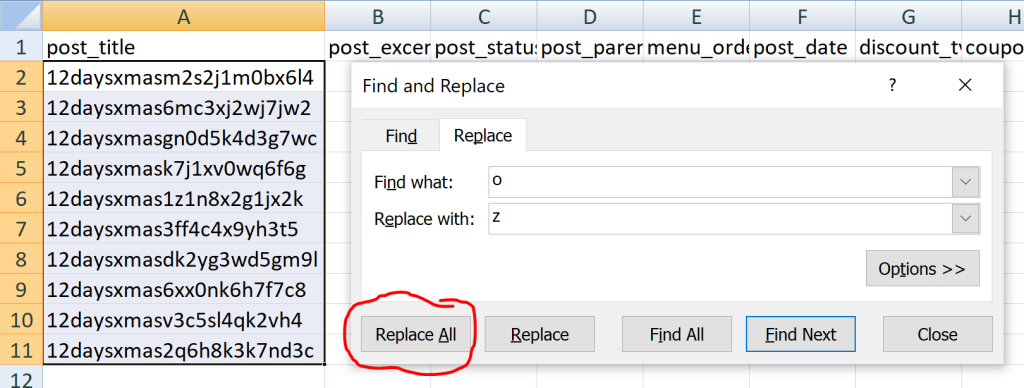
- If you are going to print these I recommend removing the letters i, l, s, and o. Also, I recommend removing the numbers 0 and 5. These tend to cause frustration with people because they are easily confused. People confuse the upper case letter i for the lower case letter l. People confuse the letter o and the number 0. The letter s and the number 5. You get the idea. Removing these completely is the way to go.
In excel I find the easiest way to do this is to use the find and replace tool. Highlight the Post_Title column (but not the first cell with the header) and tap Ctrl+F on your keyboard. Tap on the “Replace” tab in the open pop-up window. Then type in one of the characters you want to replace in the “Find what:” field and then an alternate letter or number in the “Replace with:” field. Click “Replace All” to complete.
Repeat for each character you want to eliminate.
When you are done save your file. I recommend you use “Save-As” and give it a new name like 12 Days Coupons Ready for Import.
Be SURE TO SAVE in CSV format.
Step 9: Import Your Coupon Codes Into WooCommerce
When you are happy with your codes you are ready to import the file into WooCommerce. Up to this point if you have followed my tutorial you haven't actually created any coupon codes in WooCommerce but you are ready to 🙂
Navigate to the import coupons tab in WooCommerce. Click “Choose CSV file” and find the newly saved file on your computer.
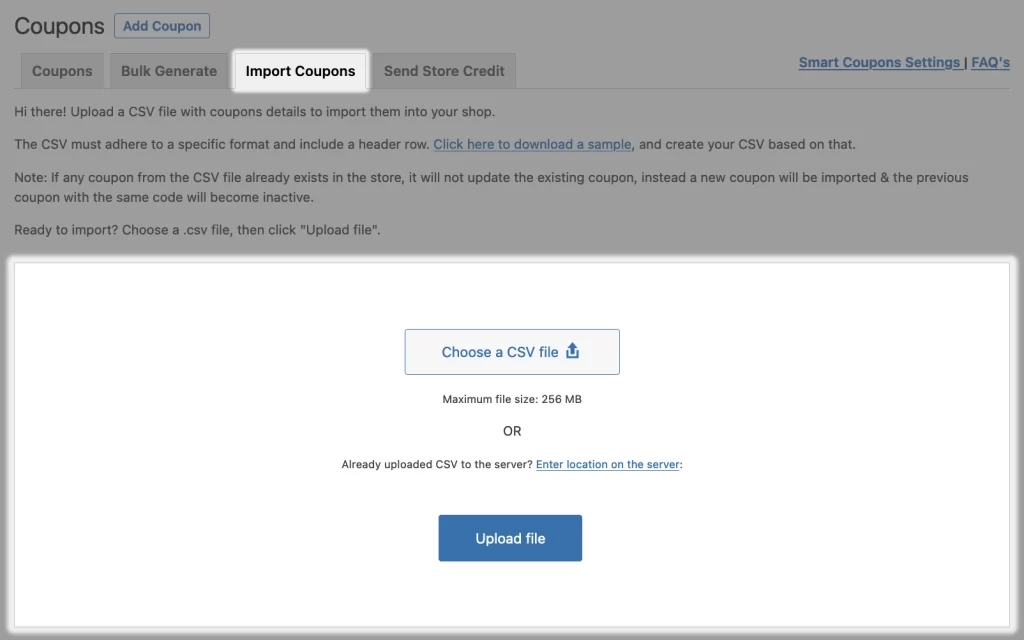
Click “Upload File”
Step 10: Finalize Import
The system will check the file to make sure it has the correct parameters and formatting. If it looks good you will be presented with a button you can click to “Import”
Click the button.
Coupons Now Imported Into WooCommerce
That is it. You now have a file on your computer with all the codes that you can send to a printer if you need to and you also have all the coupons created and setup in WooCommerce.